

 Set up docs MCP
Connect ClickHouse Cloud to your data catalogs to access your open table format tables. You can set up connections in the Data sources UI. For setup via SQL, use the DataLakeCatalog database engine in your SQL editor of choice.
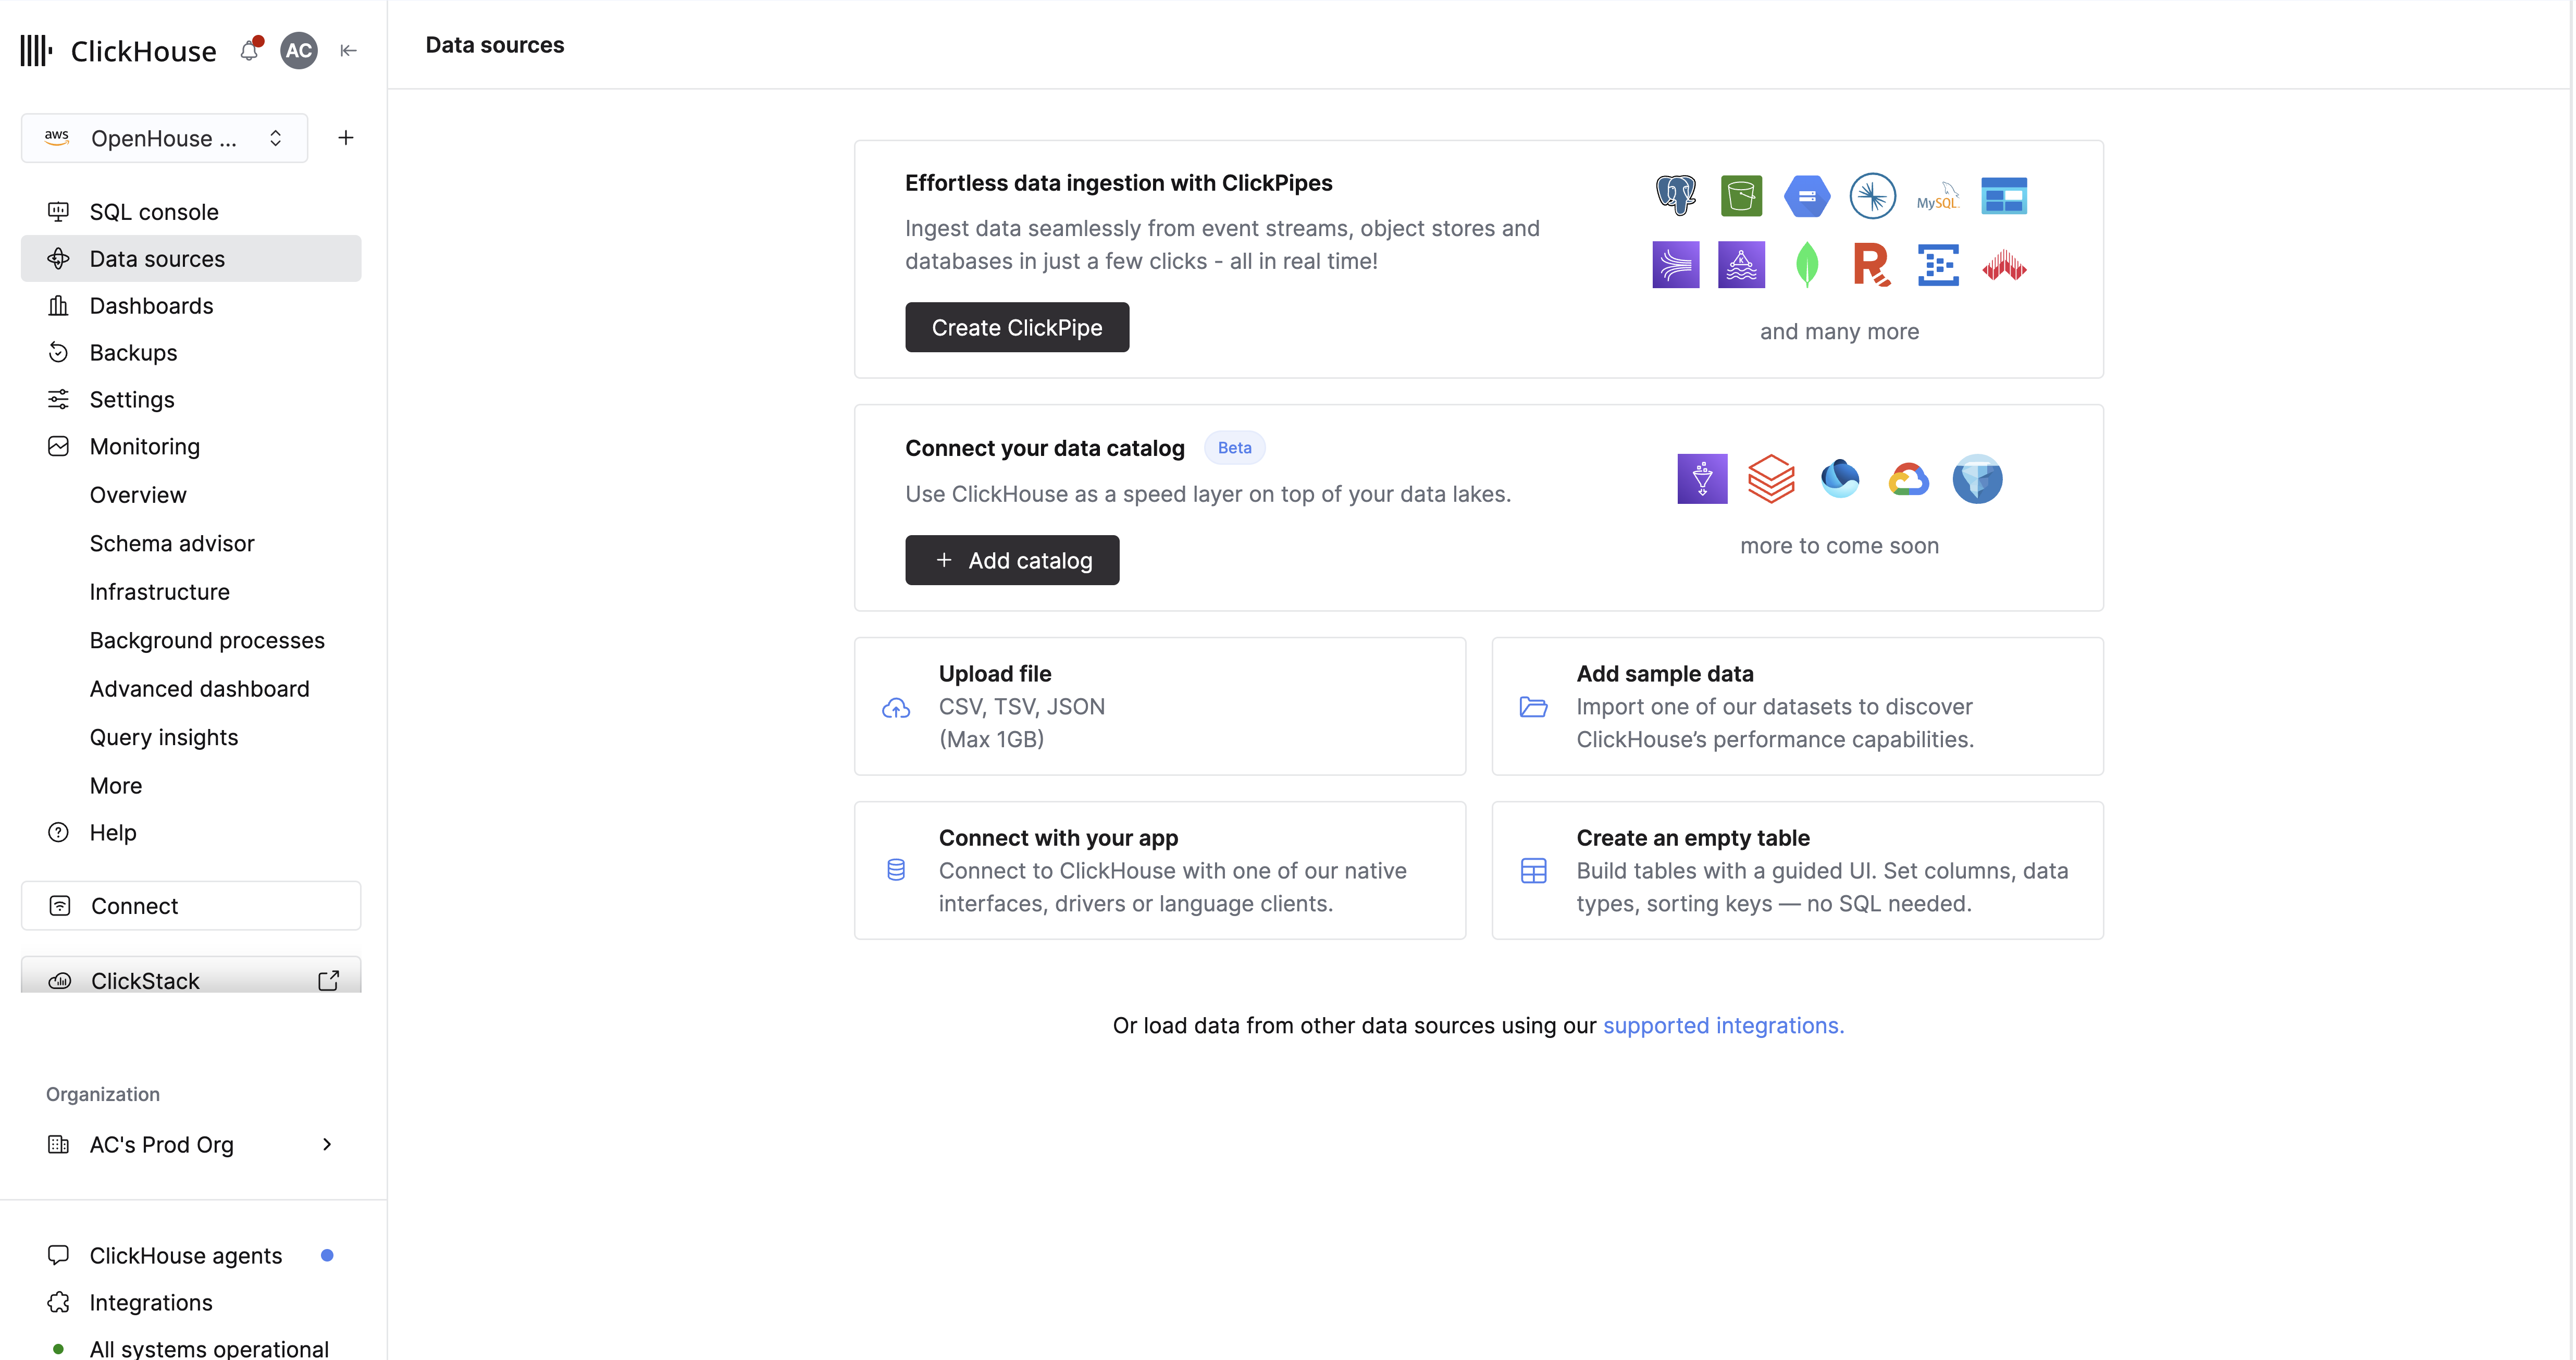
Once connected, catalog tables show up in the SQL console under the database name you choose. You can query them with standard ClickHouse SQL, join them with MergeTree tables, and use them as sources for materialized views.
Prerequisites
Before you connect a catalog, confirm the following:
- Service permissions. You need the
control-plane:service:managepermission to access the Data sources page and add catalogs. - Running service. If the service is idle, wake it from the Data sources or the service settings pages before connecting or viewing linked catalogs.
- Catalog credentials. Gather connection details for your catalog type before opening the flyout. Each catalog uses different fields and authentication — see Add your catalog connection below.
Connect your catalog
Open the data catalog flyout
- Select Data sources in the left navigation.
- Click + Add catalog if you haven’t set up any data sources. Otherwise, click Add data source > Add data lake catalog.
- In the Connect your data catalog flyout, select your catalog from the Select catalog dropdown. If the catalog supports multiple open table formats, choose the format in Open table format.
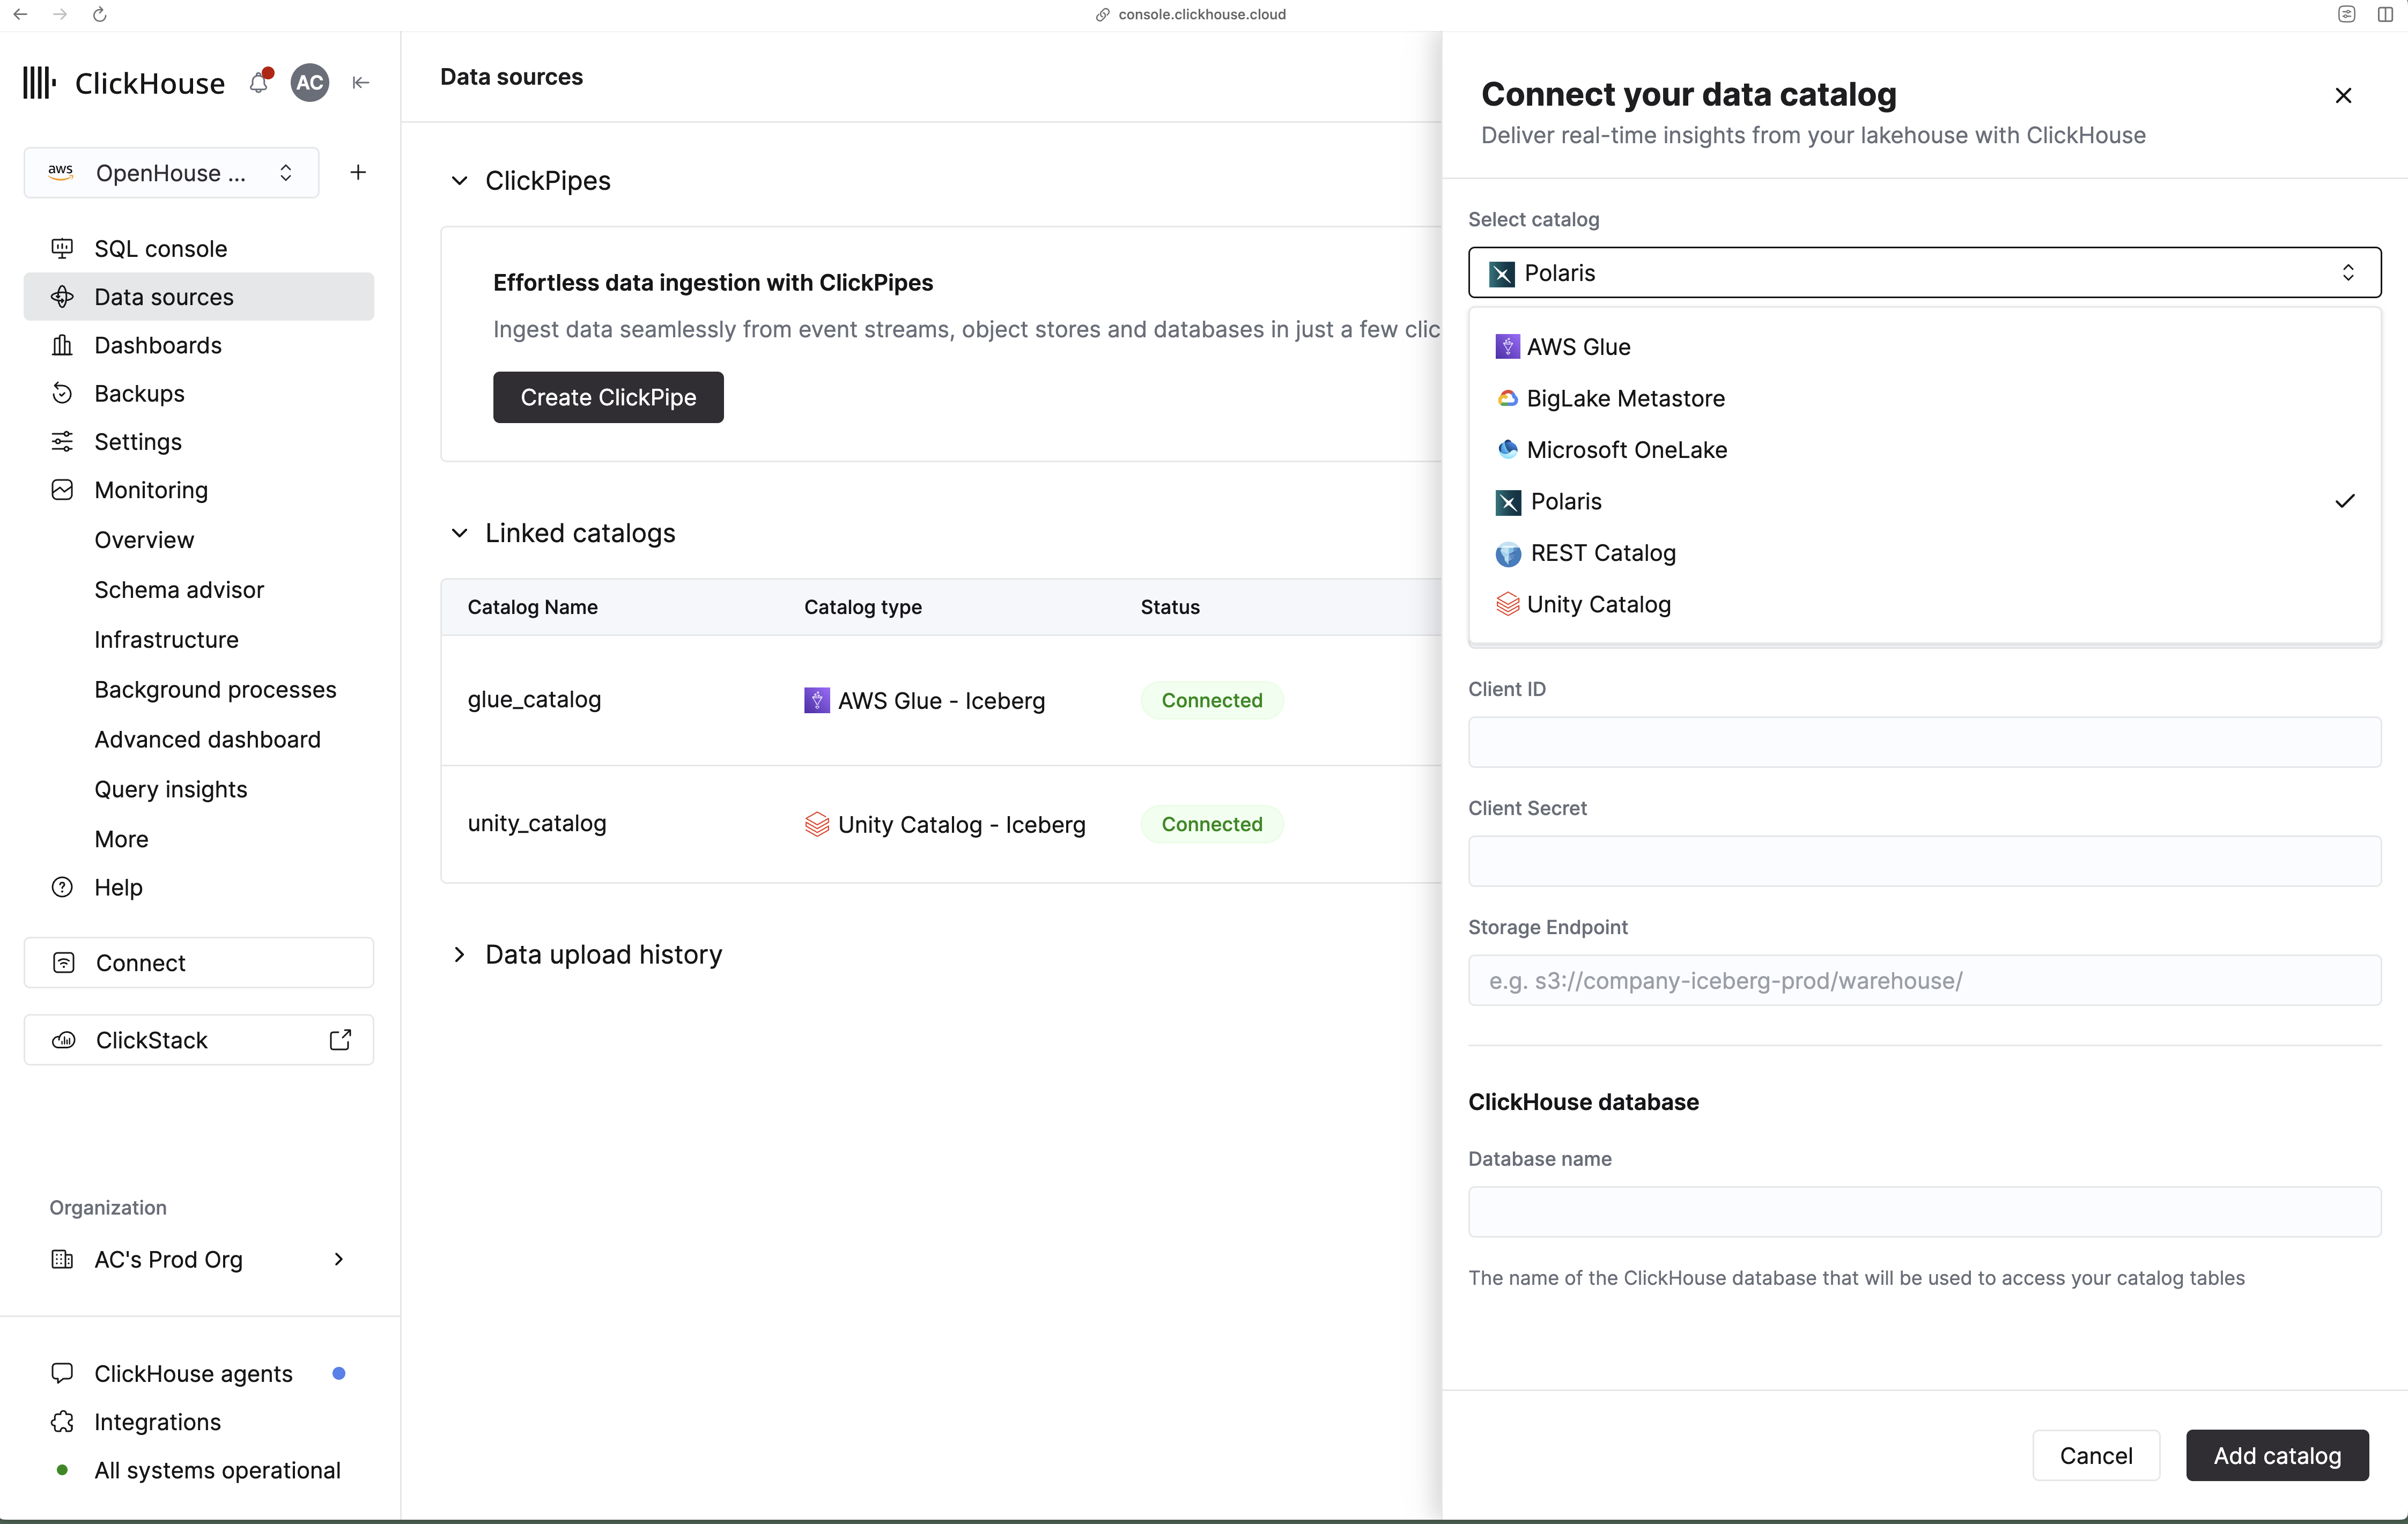
Add your catalog connection
Select your catalog below for guidance and prerequisites. Then fill in the connection parameters, along with a Database name — the ClickHouse database that exposes your catalog tables in the SQL console.
AWS Glue Catalog exposes Iceberg tables registered in the Glue Data Catalog.
Before you connect, confirm:
- ClickHouse version 25.12+.
- Iceberg tables are registered in AWS Glue Data Catalog in your target region.
- For access key authentication, you have an IAM user access key with permissions to read Glue metadata and the underlying S3 objects.
- For IAM role authentication (26.2+), you have an IAM role that trusts your ClickHouse service role. Include the service role ARN from Settings → Network security information in the role trust policy. See Accessing Iceberg data securely for IAM policy examples.
In the flyout, enter your AWS Region (e.g. us-west-2), then choose an authentication method:
Access key authentication
- Select AWS Access Key as the Authentication method.
- Enter your Access Key ID and Secret Access Key.
- Enter a Database name for the ClickHouse database that exposes your Glue tables.
IAM role authentication (26.2+)
- Select AWS IAM Role as the Authentication method.
- Copy the Service role ID (IAM) from the flyout panel and add it to your IAM role trust policy.
- Enter your AWS Role ARN and an optional AWS Role Session Name.
- Enter a Database name for the ClickHouse database that exposes your Glue tables.
Query Unity Catalog Iceberg tables that use external storage locations, using OAuth client credentials from a Databricks service principal. See the Unity Catalog guide for full setup.
Before you connect, confirm:
- ClickHouse version 25.12+.
- Unity Catalog is configured for external data access.
- Databricks service principal with OAuth client ID and secret. The service principal has
USE CATALOG,USE SCHEMA,USE EXTERNAL SCHEMAandSELECTprivileges on the tables you want to query.
In the flyout:
- Enter your Databricks Workspace URL (e.g.
dbc-1234567a-cbde.cloud.databricks.com). - Enter the Databricks catalog name to connect (e.g.
icebench). - Enter the OAuth Client ID and Client secret for your service principal.
- Enter a Database name for the ClickHouse database that exposes your Unity Catalog tables.
Query Unity Catalog Delta Lake tables that use external storage locations, using a Databricks Personal Access Token (PAT). See the Unity Catalog guide for full setup.
Before you connect, confirm:
- ClickHouse version 25.12+.
- Unity Catalog is configured for external data access.
- Databricks Personal Access Token with at least
EXTERNAL USE SCHEMA,USE CATALOG,USE SCHEMA, andSELECTon the target tables.
In the flyout:
- Enter your Databricks Workspace URL (e.g.
dbc-1234567a-cbde.azuredatabricks.net). - Enter the Databricks catalog name to connect.
- Enter your Personal Access Token.
- Enter a Database name for the ClickHouse database that exposes your Delta tables.
Connect to any catalog that implements the Iceberg REST Catalog specification. See the REST catalog guide for full setup.
Before you connect, confirm:
- ClickHouse version 25.12+.
- Your REST catalog endpoint is reachable from ClickHouse Cloud.
- You have OAuth client credentials or a bearer token, depending on your catalog configuration.
- You have an S3 or compatible Storage Endpoint URI for table data (e.g.
s3://my-bucket/path).
In the flyout:
- Enter the Catalog URL (e.g.
https://catalog.example.com/v1). - Enter the Warehouse or catalog namespace (e.g.
demo). - Enter the Storage Endpoint URI prefix for table storage.
- Select an Authentication method: OAuth Client Credentials or Bearer Token, then enter the matching credentials.
- Enter a Database name for the ClickHouse database that exposes your REST catalog tables.
Query Iceberg tables in Microsoft Fabric OneLake using Azure AD application credentials. See the Fabric OneLake guide for full setup.
Before you connect, confirm:
- ClickHouse version 25.12+.
- Iceberg tables exist in a Fabric workspace.
- You have an Entra ID (Azure AD) application with client ID and secret.
- You have your tenant ID, workspace ID, and a data item ID. Use your Lakehouse ID from the Lakehouse page URL. See Microsoft OneLake prerequisites for help locating these values.
In the flyout:
- Enter your Fabric Workspace ID.
- Enter the Data Item ID — use your Lakehouse ID. Warehouse IDs aren’t supported.
- Enter your Entra ID Tenant ID, Application (client) ID, and Client secret.
- Enter a Database name for the ClickHouse database that exposes your OneLake tables.
Connect to a Snowflake Open Catalog (Polaris) deployment for Iceberg tables. See the Polaris catalog guide for full setup.
Before you connect, confirm:
- ClickHouse version 26.2+.
- You have a Polaris catalog with OAuth client credentials.
- You have a storage endpoint URI for Iceberg table data (e.g.
s3://company-iceberg-prod/warehouse/).
In the flyout:
- Enter the Catalog Account Identifier (e.g.
ab12345.snowflakecomputing.com). - Enter the Catalog Name (e.g.
snowflake_open_catalog). - Enter the OAuth Client ID and Client Secret.
- Enter the Storage Endpoint URI prefix for table storage.
- Enter a Database name for the ClickHouse database that exposes your Polaris tables.
Connect to Google Cloud BigLake Metastore (aka Lakehouse runtime catalog) for Iceberg tables in GCS. See the BigLake Metastore guide for full setup.
Before you connect, confirm:
- ClickHouse version 26.2+.
- You have a BigLake Metastore instance with Iceberg tables in GCS.
- You have Google Application Default Credentials (ADC) with client ID, client secret, refresh token, and quota project ID.
In the flyout:
- Enter your Google ADC Client ID, Client Secret, Refresh Token, and Quota Project ID.
- Enter the Cloud Storage Bucket URI for table data (e.g.
gs://biglake-public-nyc-taxi-iceberg). - Enter a Database name for the ClickHouse database that exposes your BigLake tables.
Save the connection
After filling in the fields:
- Click Add catalog. ClickHouse validates the connection and credentials when saving.
- On success, a confirmation toast appears with a View in SQL console link. Your catalog is listed in the Linked catalogs table with its connection status and table count.
From the Actions menu on a linked catalog row, you can drop the catalog connection. Dropping removes the catalog’s database from ClickHouse — it doesn’t delete any data in your external catalog.
Query your data
View your catalog tables
On the Data sources page, find your catalog in the Linked catalogs table and click View tables.
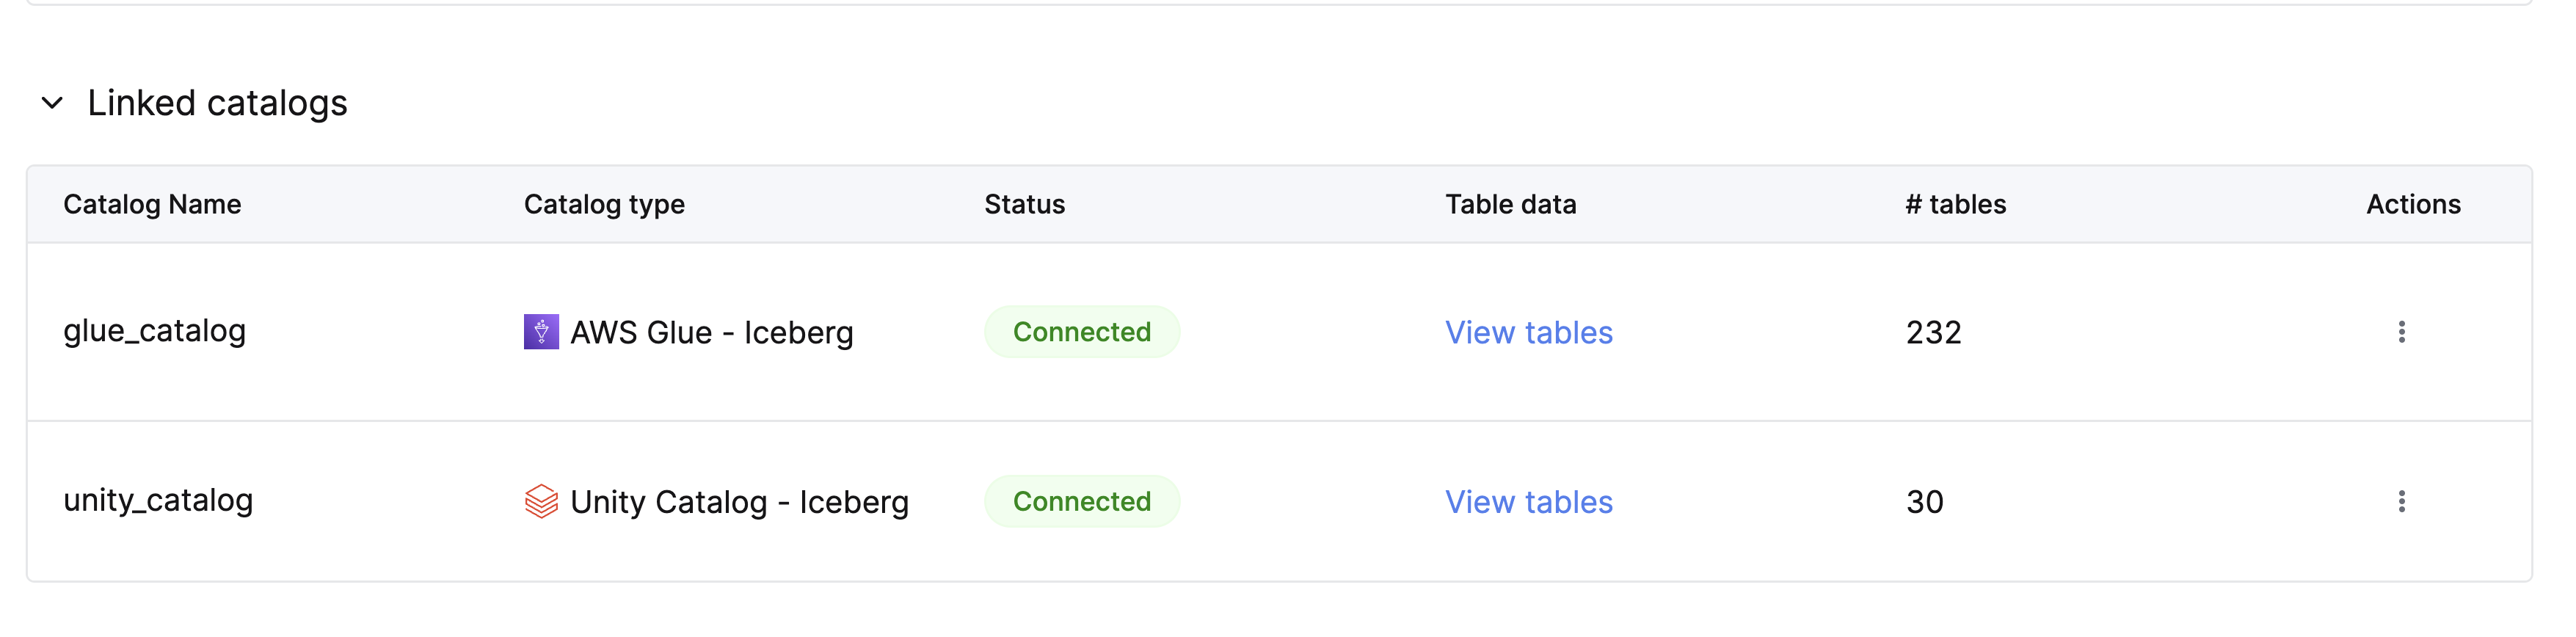
ClickHouse opens the SQL console with your catalog database selected and lists the available tables.
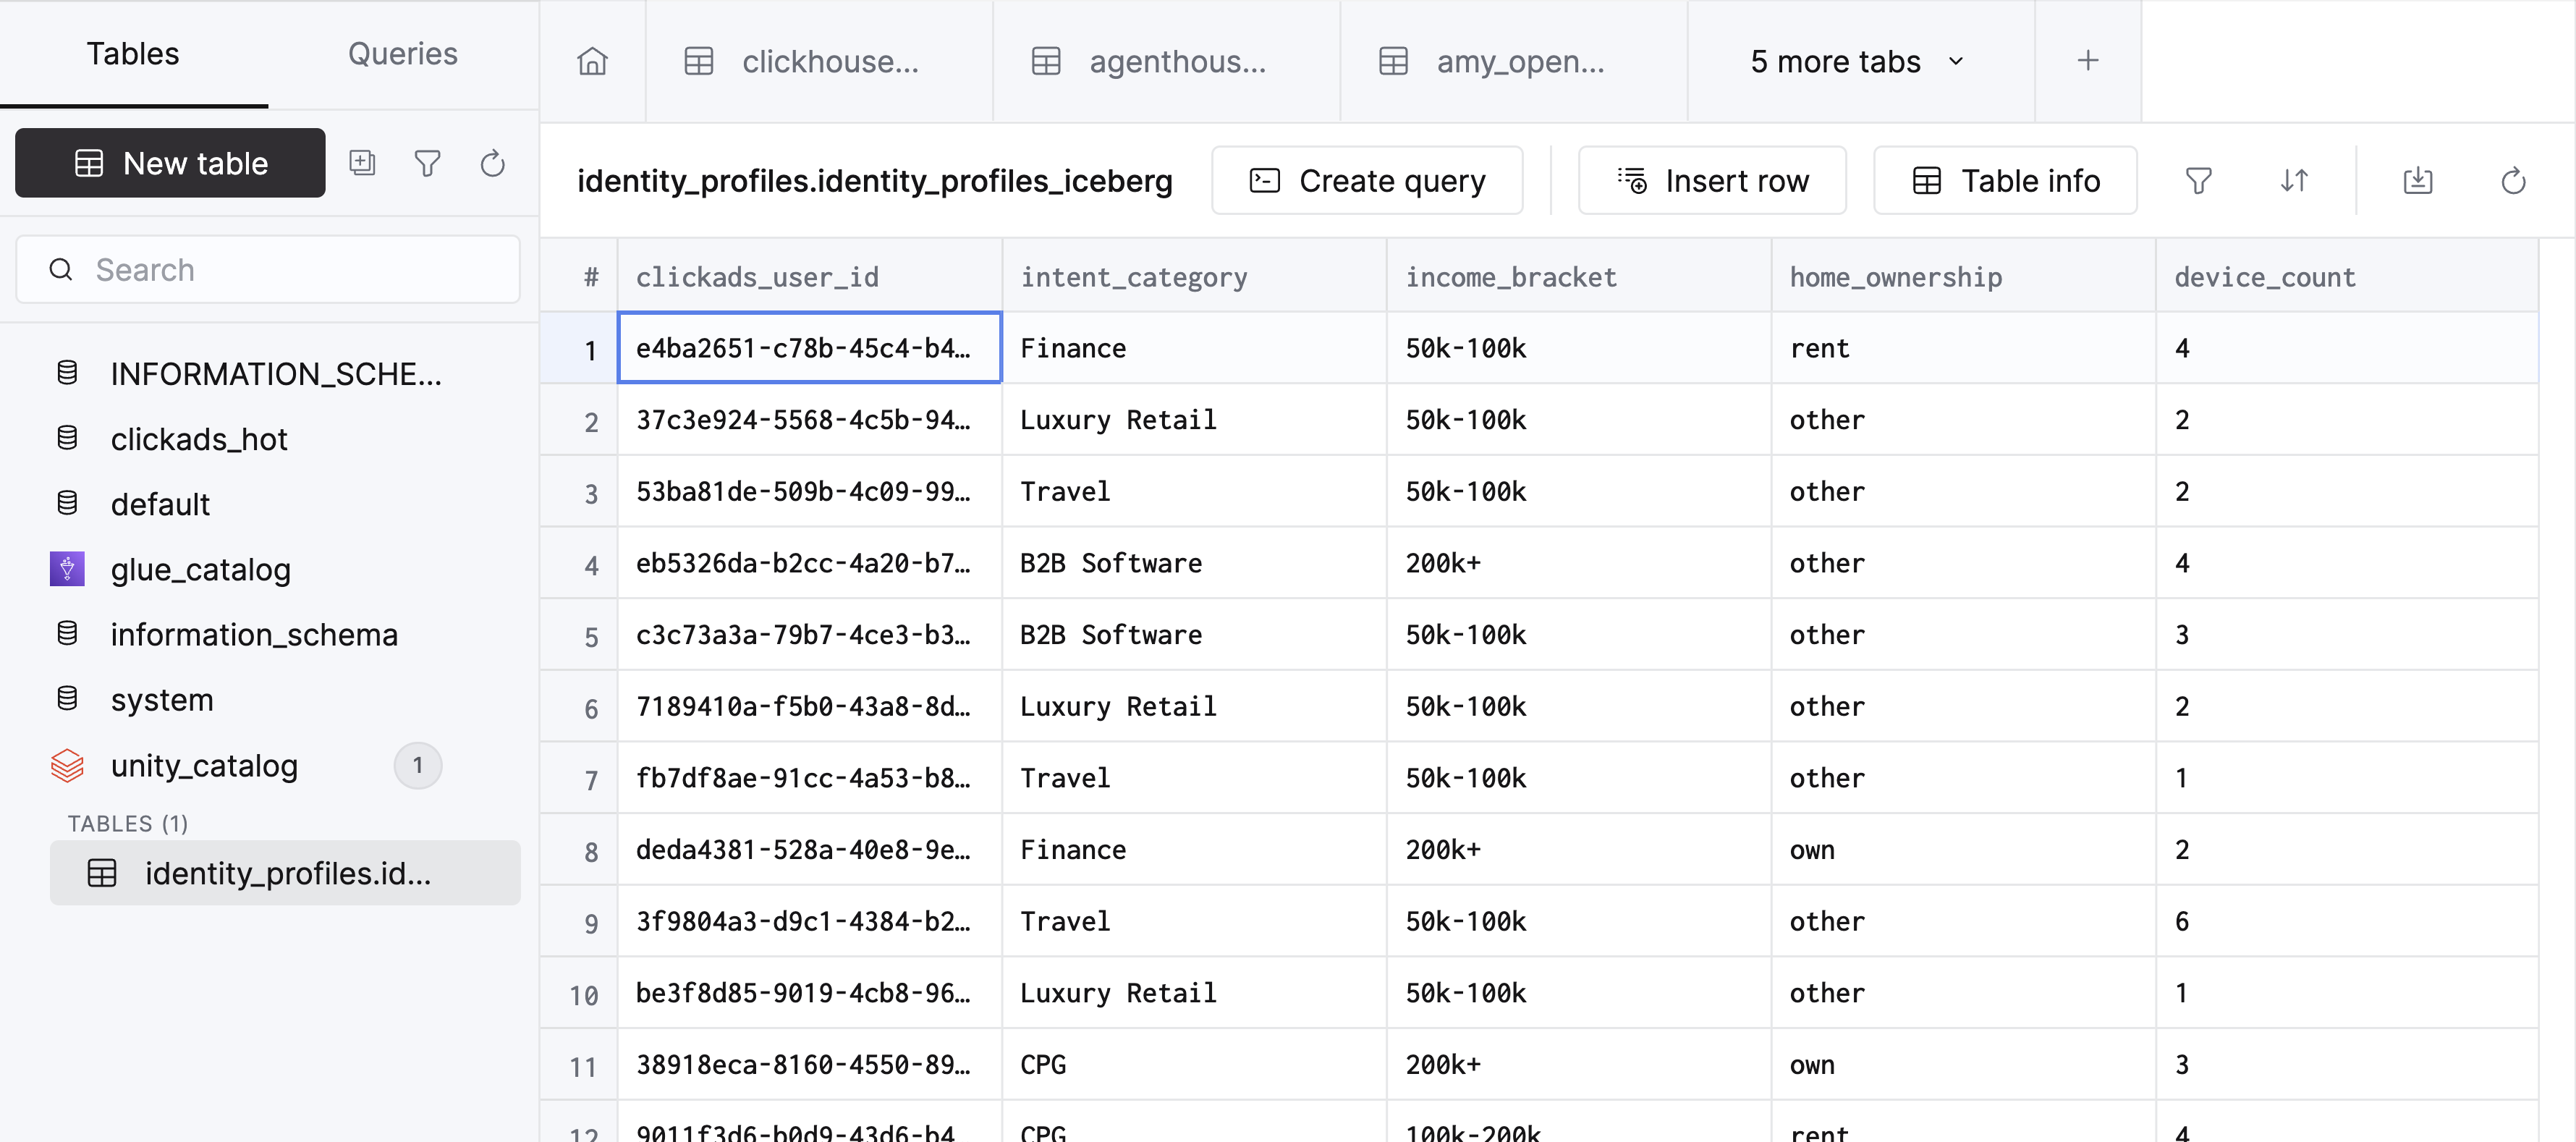
Run a query
Write a query in the SQL editor and click Run. Wrap the full table name in backticks:
SELECT * FROM `identity_profiles.identity_profiles_iceberg`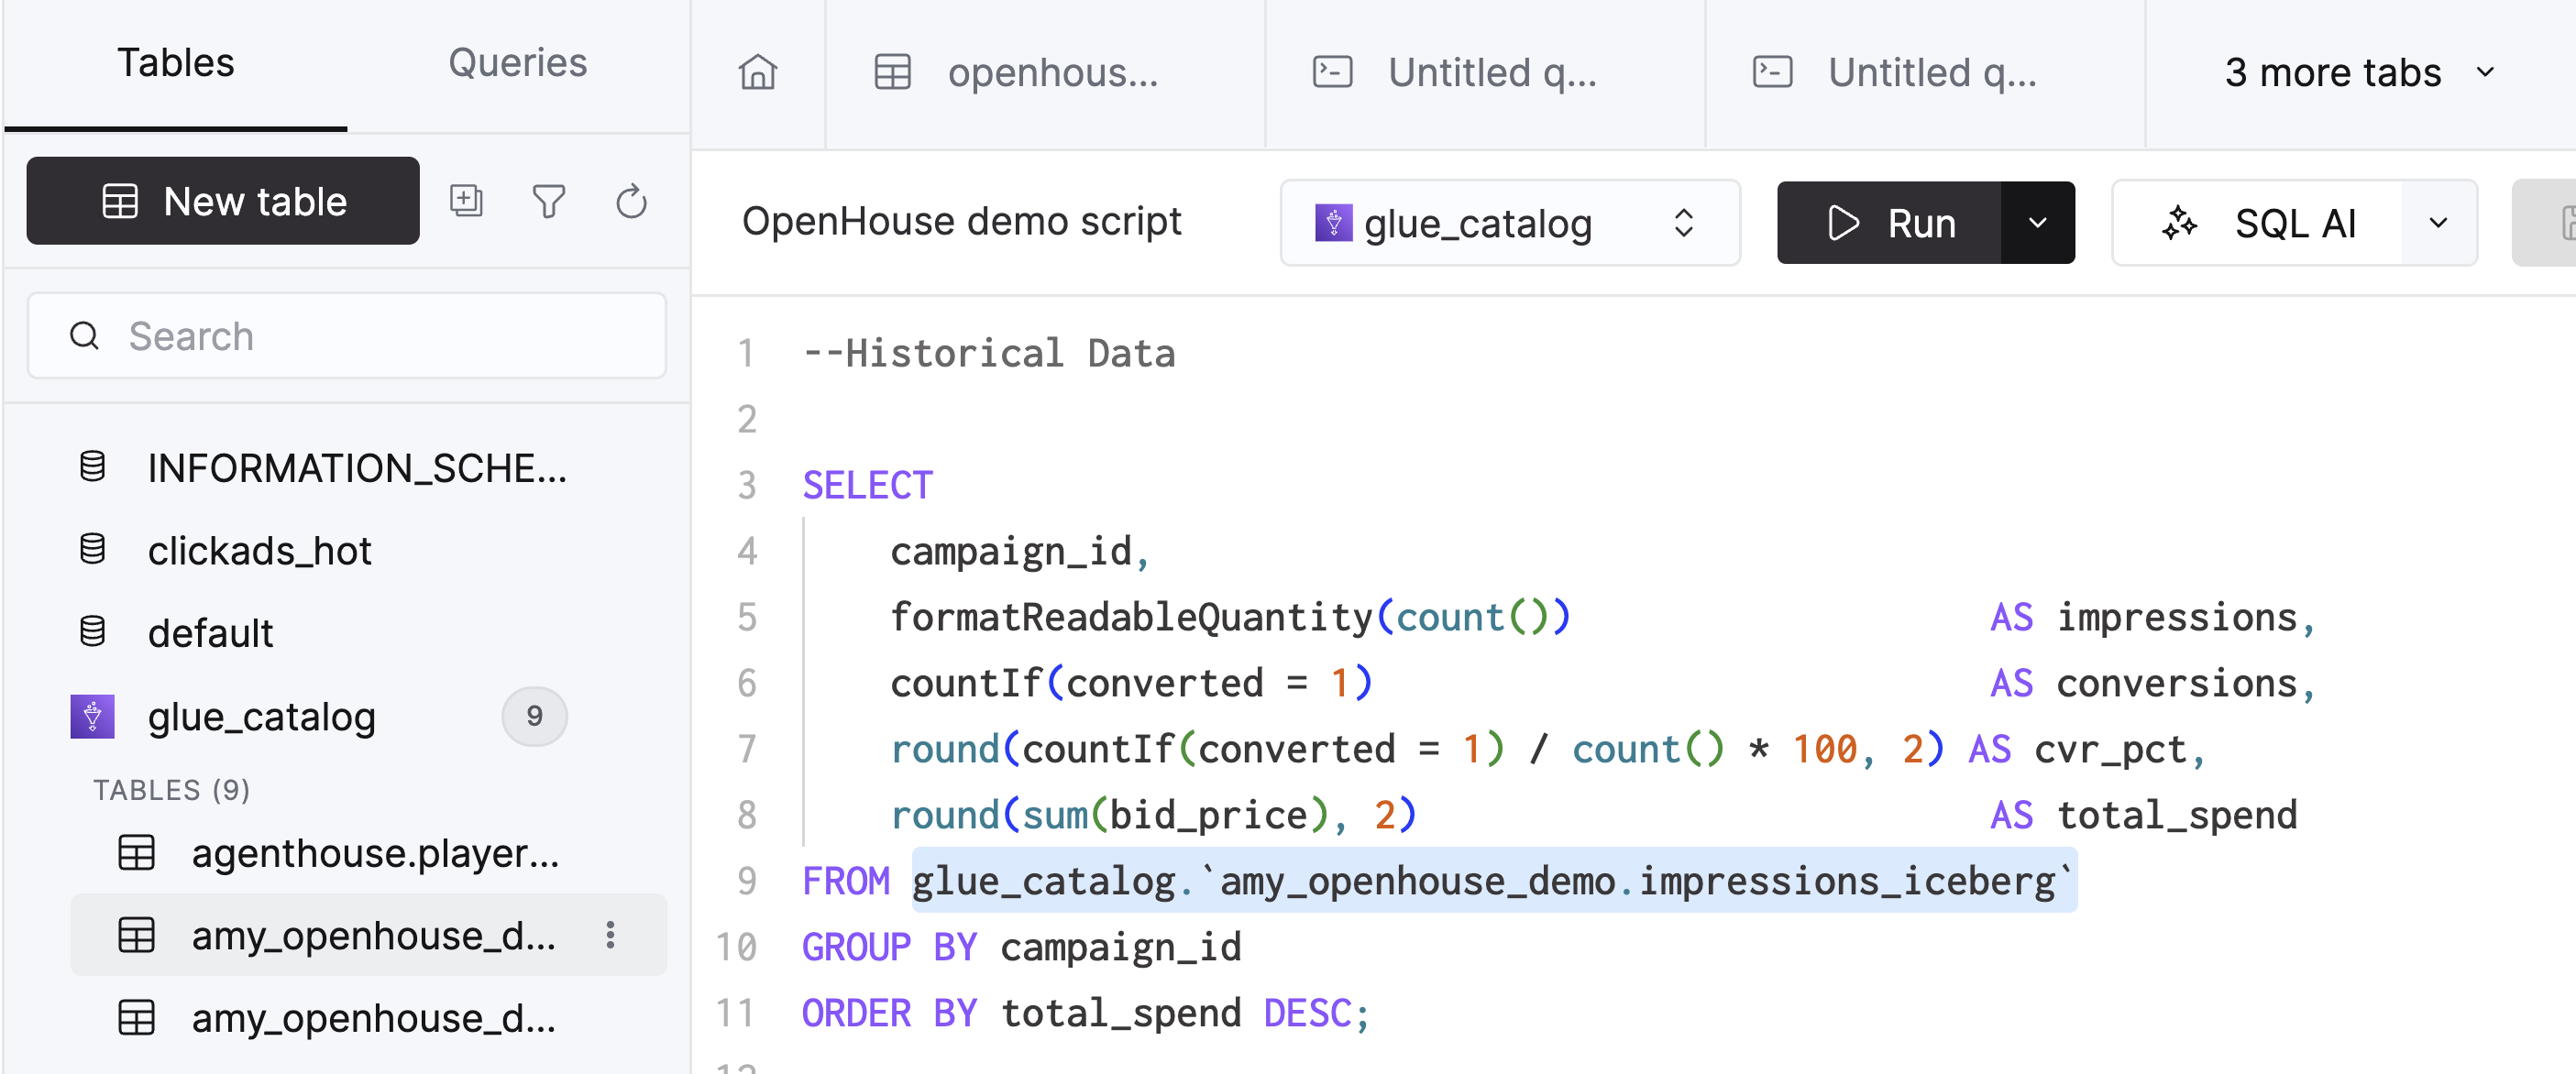
Troubleshooting
- If you don’t see your tables in the SQL console: verify credentials, network access, and table types in the catalog. Make sure the tables you expect to see are in supported file and table formats.
See also
- Accelerating analytics on lakehouse data — load catalog tables into MergeTree for repeated queries
- Accessing Iceberg data securely — IAM role setup for AWS Iceberg and Glue access